 admin
admin How to Care for Money Tree Cuttings on a Moss Pole: A 2-Week Journey from Rooting to Thriving
I’ve always loved the lush, braided trunks and vibrant green leaves of the Money Tree (Pachira aquatica). But when my mature plant became a bit too leggy, I faced a common dilemma: what to do with the healthy cuttings? Simply rooting them in water felt limiting. I wanted to create a fuller, more vertical statement plant from the start. That’s when I decided to experiment with training Money Tree cuttings on a moss pole. This method promised stronger growth and a stunning, tree-like appearance. If you’re struggling with floppy cuttings or dreaming of a grander indoor tree, this hands-on guide details my exact process, the two-week results I documented, and the crucial lessons I learned the hard way.
The core challenge with caring for Money Tree cuttings is transitioning them from vulnerable stems into stable, self-supporting plants. A moss pole isn’t just a stake; it’s a root-boosting system. It provides structural support and constant humidity, mimicking the tree’s natural tendency to grow on other surfaces. This guide will walk you through my successful technique step-by-step.
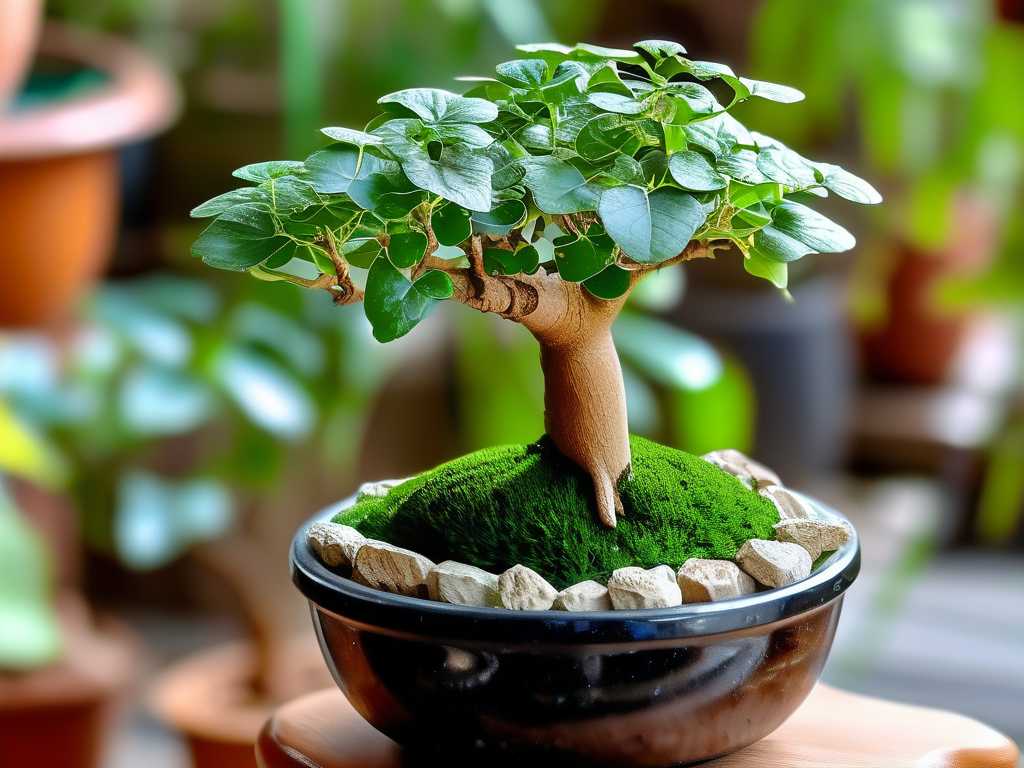
Gathering Your Supplies: Setting the Stage for Success
Before making the first cut, I gathered everything. Preparation is key to avoiding stress for both you and the plant. You’ll need sharp, sterilized pruning shears, a well-draining aroid mix (I used equal parts potting soil, orchid bark, and perlite), a suitable pot with drainage, and a moss pole. I opted for a self-supporting, extendable pole. For the moss, according to the Royal Horticultural Society (RHS), sphagnum moss is ideal for its excellent water retention and aeration properties, which encourage root growth. Don’t forget plant ties or soft twine.
Step 1: Taking and Preparing the Perfect Cutting
I selected a stem about 8 inches long with several healthy leaf nodes. Using my shears, I made a clean, 45-degree angle cut just below a node. This increases the surface area for rooting. I removed the lower leaves, leaving two to three sets at the top to focus the plant’s energy. I then let the cutting callous over for a few hours. This critical step, often overlooked, helps prevent rot when it contacts the moist moss.
Step 2: Potting and Securing the Cutting to the Moss Pole
I pre-moistened my potting mix until it was damp but not soggy. Filling the pot halfway, I positioned the moss pole firmly at the center. Holding my Money Tree cutting against the pole, I arranged its nodes near the moss surface. Gently adding more soil, I secured the base. The crucial part: using soft ties, I loosely attached the stem to the pole. It should be snug but not tight enough to cut into the tissue. I made sure at least one node was in direct contact with the damp moss.
Step 3: The Initial Watering and Placement Ritual
After potting, I gave the soil a thorough watering until it drained freely from the bottom. Then, I used a spray bottle to thoroughly dampen the entire moss pole. This creates the humid microenvironment aerial roots crave. I placed the pot in a spot with bright, indirect light—a north-facing window was perfect. Direct sun would scorch the tender cutting. This setup completed, my observation period began.
My 2-Week Observation Log: The Good, The Slow, and The Problem Solved
- Days 1-3: The cutting looked stable. I maintained pole moisture with daily misting.
- Days 4-7: I noticed the top leaves remained firm and perky, a great sign it was hydrating. No visible root growth yet, which was expected.
- Day 8 – The First Hiccup: A yellow leaf appeared at the base. Panic set in. Was it rotting? Upon investigation, the soil was too wet. I had over-misted. I immediately scaled back to misting the pole every other day and only watered the soil when the top inch was dry. The American Horticultural Society (AHS) emphasizes that overwatering is the primary killer of houseplants, especially cuttings without established roots. This was my proof.
- Days 9-12: The yellowing stopped. The stem felt firmer. By gently tugging on Day 12, I felt slight resistance—a thrilling indication of the first root anchors!
- Days 13-14: Success! A tiny, bright green nub of an aerial root was visibly pressing into the moss pole. The main cutting showed new leaf growth at the apex. The process of rooting Money Tree on a support was actively working.
Ongoing Care: Beyond the First Two Weeks
The journey doesn’t end at two weeks. Training a Money Tree to climb requires consistency. I continue to mist the pole regularly to encourage the aerial roots to penetrate deeply. I water the soil only when it’s partially dry, and I’ve started applying a diluted, balanced liquid fertilizer every month during the growing season. As the plant grows, I will extend the moss pole and secure new growth sections.
Common Questions I Encountered
Will the cutting root if it doesn’t touch the moss directly? Close proximity is vital. The roots seek out humidity. If there’s a gap, they may not attach. Re-secure the stem to ensure contact.
How often should I really water the moss pole? This depends on your home’s humidity. My mistake was a daily schedule in a moderately humid room. The better method is to check the moss by touch; it should stay consistently damp but not dripping wet. In drier climates, daily misting might be necessary.
Can I use a different support, like coir? You can, but sphagnum moss is superior for moisture retention and root encouragement. Coir poles dry out faster and may not provide the same level of support for Pachira aquatica cuttings.
Seeing that first aerial root grasp the moss was incredibly rewarding. This method transforms a simple cutting into a focused, upward-growing plant. It solves the issue of weak, drooping stems and builds a robust root system. By avoiding overwatering, ensuring pole contact, and providing bright indirect light, you can successfully guide your Money Tree cutting toward becoming a magnificent, towering focal point in your home. The initial patience pays off for years of lush growth.





