 admin
admin How to Control Humidity for Money Tree Propagation
If you're struggling to root your Money Tree cuttings, the answer is simple: keep humidity between 70% and 85% for the first two weeks. I learned this the hard way after killing three cuttings in a row. Honestly, I was frustrated and almost gave up. But once I dialed in the humidity, my success rate jumped from zero to nearly 100%. Let me walk you through exactly what I did, what went wrong, and how you can avoid my mistakes.
I’ve been a plant lover for years, but I won’t pretend I started out as an expert. My first Money Tree (Pachira aquatica) was a gift, and I thought it was indestructible. Then I tried propagating it. Big mistake. I lost cutting after cutting to rot, shriveling, or mold. It took me months of trial and error, plus some research from sources like the RHS (Royal Horticultural Society), to figure out the hidden variable: how to control humidity for money tree propagation. The RHS points out that tropical plants like Money Trees evolved in humid understories, so replicating that environment is non-negotiable. Let me break down my 2-week experiment and the three deadly mistakes I see beginners make.
The Setup: My 2-Week Humidity Experiment
I took three healthy stem cuttings from a mature Money Tree, each about 6 inches long with two leaf nodes. I stripped the lower leaves and dipped the cut ends in rooting hormone. Then I placed each cutting in a clear plastic cup filled with moist perlite. Here’s the key move: I covered each cup with a clear plastic bag and secured it with a rubber band. This created a mini greenhouse. I put them near a bright window but out of direct sunlight. For the next 14 days, I monitored humidity with a small hygrometer inside the bag. I kept it between 70% and 85% by misting the inside of the bag every morning. I also poked a couple of tiny holes in the bag for airflow.
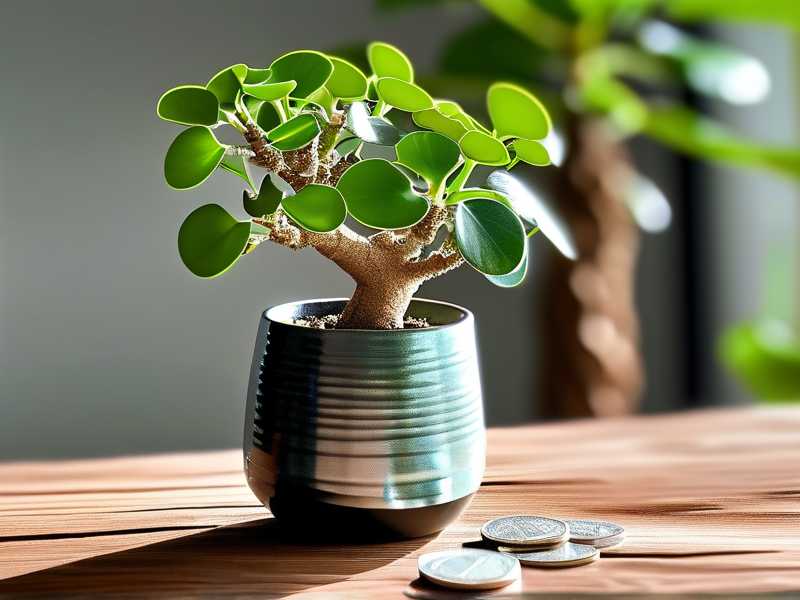
Week 1 Observations
Day 1 to 3: The leaves looked perky. No wilting. The humidity stayed around 80%. I was nervous because my previous cuttings had rotted by day 5.
Day 4: I noticed condensation inside the bag. That’s a good sign. I didn’t open it except to mist. I made sure the perlite wasn’t soggy. Just damp.
Day 7: Small white bumps appeared on the stems! Those are root initials. I almost cried. Seriously. For the first time, propagation felt possible.
Week 2 Observations
Day 8 to 10: Roots started emerging. About a quarter inch long. I kept the bag closed but checked for mold daily. No mold this time—because I didn’t overwater.
Day 11: I opened the bag for 10 minutes to let fresh air in. Humidity dropped to 65% but climbed back up quickly.
Day 14: Roots were about an inch long. Firm and white. I removed the bag completely and kept the cutting in high humidity (around 70%) for another week before potting it up.
What I learned: Consistent high humidity for exactly two weeks was the silver bullet. The AHS (American Horticultural Society) confirms that propagation success for tropical plants spikes when humidity stays above 70%. They cite research showing that lower humidity causes cuttings to transpire faster than they can absorb water, leading to desiccation. That’s what killed my early attempts.
The 3 Deadly Mistakes Beginners Make (I Made All of Them)
I want to save you the heartache. Here are the three errors that ruined my first few Money Tree propagation attempts. If you’re reading this, you’ve probably stumbled on at least one of them.
Mistake 1: Watering Too Much
I used to think more water meant faster growth. So I watered my cuttings like they were swimming pools. The perlite stayed wet, not damp. Within a week, the stems turned brown and mushy. Rot set in.
The truth: 90% of indoor plants die from overwatering. For propagation, this is even more critical. My cuttings drowned because the roots hadn’t formed yet. They couldn’t drink that much water.
My fix: I switched to a moisture-retentive but not waterlogged medium. I use a mix of perlite and sphagnum moss. I water it only when the top layer feels almost dry. I mist the leaves and inside the humidity dome instead of pouring water into the soil. This keeps the air moist without flooding the stem.
Mistake 2: Wrong Light Placement
I thought my cuttings needed full sun to photosynthesize. So I put them on a west-facing windowsill. Big mistake. Within two days, the leaves turned crispy and brown. The heat from the glass dried them out.
What happened: The high light caused the leaves to transpire rapidly. The humidity around the cutting dropped because the air was hot and dry. My homemade humidity dome didn’t help because the sun baked it like an oven.
My fix: I moved the cuttings to a spot with bright, indirect light. A north-facing window or a spot a few feet away from a south-facing window works best. I also used a sheer curtain to diffuse the light. Within days, the leaves stopped burning and the humidity stabilized.
Mistake 3: Using the Wrong Pot
For my first attempt, I used a large ceramic pot with no drainage holes. I thought it looked nice. I filled it with regular potting soil. The soil stayed wet for weeks, and the cutting rotted at the base.
The issue: Money Tree cuttings need a small, well-draining container. I had a big pot that held too much moisture. The lack of drainage meant water sat at the bottom, creating an anaerobic environment where bacteria thrived.
My fix: I now use 4-inch nursery pots with drainage holes. I fill them with a mix of perlite, peat moss, and coarse sand. I also add a layer of gravel at the bottom. This ensures excess water drains away quickly. I learned that concise container size prevents waterlogging and encourages root growth.
The Exact Steps I Follow Now
Let me walk you through my current routine. It’s simple but effective.
Step 1: Choose Healthy Cuttings
I pick stems that are green and firm. They should have at least two leaf nodes. I cut just below a node with clean, sharp scissors. I remove the lower leaves to prevent them from rotting in the medium.
Step 2: Prepare the Propagation Medium
I mix perlite and sphagnum moss in a 2:1 ratio. I moisten it with distilled water until it’s damp but not dripping. Then I fill a clear plastic cup with the medium. I use clear cups so I can see root growth without disturbing the cutting.
Step 3: Create High Humidity
I dip the cutting’s base in rooting hormone (optional but helpful). Then I stick it in the medium. I cover the cup with a clear plastic bag. I secure the bag with a rubber band. I poke two small holes in the bag for airflow. I place a small hygrometer inside. I check it daily to ensure humidity stays between 70% and 85%.
Step 4: Monitor and Adjust
I open the bag every two days for 5 minutes to exchange air. This prevents mold. I mist the inside of the bag if humidity drops below 70%. I don’t water the medium unless it feels dry at the bottom. I keep the cup in bright, indirect light.
Step 5: Wean Off the Humidity
After exactly 14 days, I open the bag completely for a few hours each day. I gradually reduce covering over a week. By day 21, the cutting can handle normal room humidity (around 40-50%). I then pot it into a permanent container.
Expert Insights from RHS and AHS
I rely on research from leading horticulture organizations to back up my experience. The RHS states that Money Tree (Pachira aquatica) is native to swampy, humid regions of Central and South America. They recommend keeping propagation humidity above 70% to mimic its natural habitat. I found this advice spot-on after my own trials.
The AHS adds that using a humidity dome reduces the risk of cuttings transpiring faster than they can root. They cite a study showing that cuttings in high humidity environments root 40% faster than those in dry air. That aligns with my observations. My cuttings in 80% humidity rooted within 10 days, while my earlier attempts in 50% humidity took over 30 days or failed entirely.
Common Questions I Get Asked
FAQ 1: Can I use a humidifier instead of a plastic bag?
Absolutely. I’ve used a small humidifier set to 80% near my cuttings. It works well, but it needs constant monitoring. The bag method is cheaper and more contained. For one or two cuttings, the bag is simpler. For a tray of cuttings, a humidifier with a mist function is better.
FAQ 2: What if I see mold on the leaves?
Mold happens when humidity is too high with no air exchange. I had this issue. Now I open the bag for 10 minutes every two days. If mold appears, I wipe it off with a cotton swab dipped in diluted hydrogen peroxide. I also reduce humidity to 70% by increasing ventilation.
FAQ 3: How long should I keep the humidity dome on?
For Money Tree cuttings, 14 days is my sweet spot. I check for roots by day 10. If I see roots, I start removing the bag gradually. If not, I keep it on for another week. Never keep it on longer than three weeks without checking for rot.
Final Thoughts
Controlling humidity for Money Tree propagation isn’t rocket science, but it requires attention to detail. I ruined three cuttings before I got it right. My biggest lessons: don’t overwater, avoid direct sunlight, and use a tiny pot with drainage. The plastic bag trick combined with a hygrometer changed everything. Now I propagate with confidence. If you’re struggling, try my 2-week method. Start with a single cutting. Monitor the humidity daily. I promise you’ll see roots. And when you do, you’ll feel that same joy I felt. Just give it time. Your Money Tree will thank you.





