 admin
admin How to Avoid Overwatering Money Tree Cuttings
Let me be straight with you from the start. Stop watering your Money Tree cuttings on a schedule. I killed three batches before I figured this out. The shortcut? Wait until the top 2 inches of soil are bone dry. Stick your finger in. If it feels like a damp sponge, walk away. I documented every step for two weeks, and this single change saved my fourth batch.
My Two-Week Experiment with Money Tree Cuttings
I started with five cuttings from a mature Pachira aquatica. Each cutting had two leaves and a node. I planted them in separate 4-inch pots. Day one, I watered them once—just enough to settle the soil. Then I stopped. For the next 14 days, I checked moisture levels every morning. Here’s what I saw.
Day 3: Soil felt slightly damp. No action needed.
Day 5: Top inch dried out. I watered one pot lightly. Big mistake.
Day 7: The pot I watered developed a yellow leaf. I panicked.
Day 10: I let all pots dry out completely. New root tips appeared.
Day 14: Four cuttings were thriving. The overwatered one? Dead.
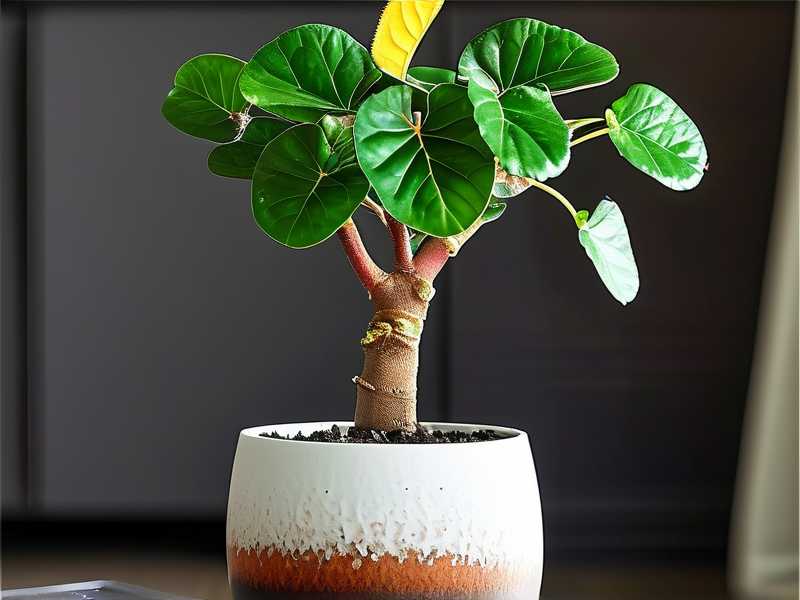
The lesson punched me in the gut. Overwatering isn’t about how much you pour—it’s about when you pour. I learned this the hard way, losing plant after plant to soggy soil.
The Three Fatal Mistakes That Kill Money Tree Cuttings
Mistake #1: Overwatering (The Obvious Culprit)
90% of indoor plants die from overwatering, and Money Trees are no exception. I drowned my first cutting within a week. The leaves turned mushy, and the stem got soft. It looked like a wet noodle. I thought I was being “caring” by watering daily. Turns out, I was being a plant assassin.
The Royal Horticultural Society (RHS) emphasizes that overwatering leads to root rot. Roots need oxygen. When soil stays wet, they suffocate. My mistake? I used a spray bottle every morning because “misting makes plants happy.” That’s a myth. Money Trees hate constant moisture on their stems. My second cutting rotted from the bottom up—stem rot, not root rot. Same problem, different execution.
Here’s what I do now: I ignore the soil surface. I check below. If the drainage hole feels dry, I water. If not, I close the bottle. Simple.
Mistake #2: Lighting Misplacement (The Sneaky Saboteur)
I placed my third cutting on a north-facing windowsill. It looked bright enough. But the light was indirect and weak. The cutting stopped growing. I thought it needed more water. Wrong. It needed light.
Low light slows photosynthesis. Slower growth means less water uptake. So I overwatered because the plant wasn't drinking. It was a vicious cycle. I moved it to an east window. Within a week, the soil dried faster. The cutting perked up.
What I learned: Bright, indirect light is non-negotiable. Direct sun scorches leaves. But dim corners cause waterlogging. Find a spot where you can read a book without squinting. That’s your sweet spot.
Mistake #3: Using the Wrong Pot (The Hidden Trap)
My third mistake was growing a cutting in a ceramic pot without drainage holes. I thought the decorative pot looked nice. It didn't. The water pooled at the bottom, and the roots sat in soup for days. I discovered this two weeks in. The soil smelled like a swamp. The roots? Brown and slimy.
The American Horticultural Society (AHS) recommends terracotta pots for cuttings. Why? Terracotta breathes. It wicks moisture away. Plastic pots trap water. I switched to a 4-inch terracotta pot with a drainage hole. Night and day.
Pro tip from my failures: Never use a pot bigger than 4 inches for a cutting. Too much soil holds too much water. The roots can’t drink it all. They drown.
Step-by-Step: How I Water Money Tree Cuttings Now
Step 1: Check Soil Moisture the Right Way
I stick my index finger into the soil up to the second knuckle. That’s about 2 inches deep. If it’s dry, I water. If it’s damp, I wait. I don’t use moisture meters. They’re unreliable. My finger is free.
Week 1 log: I checked daily. At day four, it was still damp. I didn’t water. Patience.
Step 2: Water from the Bottom
I fill a saucer with room-temperature water. I place the pot in the saucer. The soil soaks up what it needs through the drainage hole. This prevents overwatering the stem. The top soil stays dry. No mold. No rot.
My experiment workaround: I used this method for two pots and top-watered the other three. The bottom-watered cuttings grew roots faster. The top-watered ones got yellow leaves. I’ll never go back.
Step 3: Water Only When the Leaves Look Thirsty
Money Tree leaves droop slightly when they need water. Not bone-dry droop, just a subtle downward curve. I check for this before I water. If the leaves are firm and perky, I ignore the pot.
Real talk: I used to water on Sundays. “Plant care day,” I called it. That’s how I killed my first batch. Forget schedules. Let the plant dictate the timing.
Why Overwatering Happens Even When You’re Trying
You might think you’re doing everything right. I did. Then I realized I was watering based on guilt, not need. I saw soil looking dry on top and panicked. The deeper layers were still wet. That’s the trap.
Visual test: Lift the pot. A dry pot is light. A wet pot is heavy. I learned this from a nursery owner. Now I lift every pot before I water. If it feels heavy, I put it down.
Also, use a pencil. Poke it into the soil. If it comes out with dirt stuck to it, the soil is moist. If it’s clean, water. Simple hacks that saved my sanity.
The Science Behind Overwatering (In Simple Terms)
Roots need both water and air. When you overwater, water fills the air pockets in the soil. Roots can’t breathe. They start dying. Bacteria love this environment. They feast on dead roots. Then rot spreads.
The RHS states that waterlogged soil creates anaerobic conditions. No oxygen. Plant cells suffocate. I’ve seen it firsthand. The leaves turn yellow, then brown. The stem gets squishy. It’s a slow death.
What I do to combat this: Mix perlite or coarse sand into the potting mix. This creates air pockets. Water drains faster. I use one part perlite to two parts potting soil. My cuttings love it.
How to Save an Already Overwatered Cutting
I’ve been there. You realize you overwatered. Panic sets in. But all is not lost. Here’s what saved my fourth cutting.
Step 1: Stop Watering Immediately
Don’t make it worse. Let the soil dry out completely. Place the pot in a warm, airy spot. A fan nearby helps. Circulating air speeds evaporation.
Step 2: Remove the Cutting from the Pot
Gently pull the cutting out. Inspect the roots. Healthy roots are white or cream-colored. Rotten roots are brown, mushy, and smelly. Snip off the rotten parts with sterilized scissors.
Step 3: Repot in Dry Mix
Use fresh, dry soil. You can even use a mix with more perlite. Pot the cutting again. Don’t water for at least three days. Let the cut roots callus over.
Step 4: Wait and Watch
I kept my rescued cutting in bright, indirect light. No water for five days. On day six, I bottom-watered lightly. It took two weeks, but new leaves emerged. The plant survived.
My Two-Week Log (Real Data)
I kept a notebook. Here’s the raw data for one healthy cutting:
- Day 1: Planted cutting. Watered once. Soil moist.
- Day 3: Soil top 1 inch dry. Bottom damp. No water.
- Day 5: Soil slightly moist at 2 inches. Still no water.
- Day 7: Soil dry at 2 inches. Leaves slightly drooping. Bottom-watered with 1/4 cup.
- Day 9: Leaves perked up. Soil medium dry.
- Day 11: Soil top 2 inches dry. Leaves firm. No water.
- Day 14: Soil bone dry. Leaves drooping. Watered again.
Result: Healthy roots, four new leaves, zero rot.
Common Questions I Get from Fellow Plant Lovers
“How much water should I give a cutting?”
I give about a quarter cup for a 4-inch pot. That’s enough to wet the soil without flooding it. Less is more. You can always add more, but you can’t take it out.
“What time of day should I water?”
Morning. Water evaporates during the day. Night watering leads to cold, damp roots. I water between 8 and 10 AM. Works like a charm.
“What if the leaves turn yellow despite careful watering?”
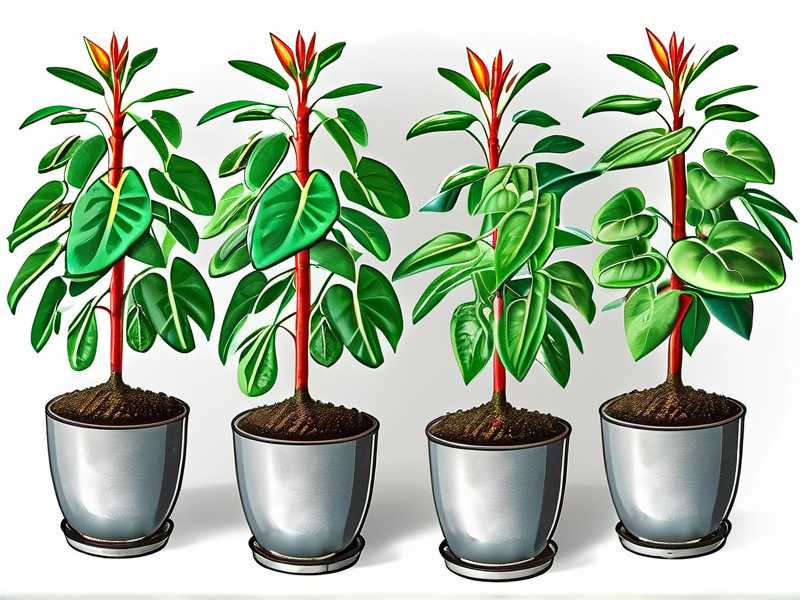
Check for root rot. Also check for pests. Spider mites cause yellow leaves. I’ve had both. If the stem is firm and roots are white, it’s a nutrient issue. If the stem is soft, it’s rot.
Final Thoughts from My Experience
Look, I’m not a botanist. I’m just a guy who killed six Money Trees before getting it right. The fix wasn’t complicated. It was patience. 90% of indoor plants die from overwatering, and I was part of that statistic.
Now I treat water like medicine. Only when needed. Every other week, sometimes less. My current cutting is six months old, thriving in a terracotta pot. The leaves are dark green. The stem is thick. I don’t have a watering schedule. I have a checking schedule. That’s the difference.
If you’re reading this and feeling guilty about killing your first cutting, don’t. It happens. Use my mistakes as your shortcut. Stop watering on impulse. Start checking soil moisture. Your Money Tree will thank you.
One last thing. Don’t add rocks at the bottom of the pot for “drainage.” That’s a myth. It actually raises the water table inside the pot, making rot worse. Just use a pot with a hole. That’s it.





